
Book Cover Layout: Front, Spine, Back & Safe Areas
A useful book cover layout turns a concept into a file that readers can understand and a printer can use. Learn how to organize eBook fronts, paperback wraps, hardcover panels, title hierarchy, bleed, and safe areas before you export.
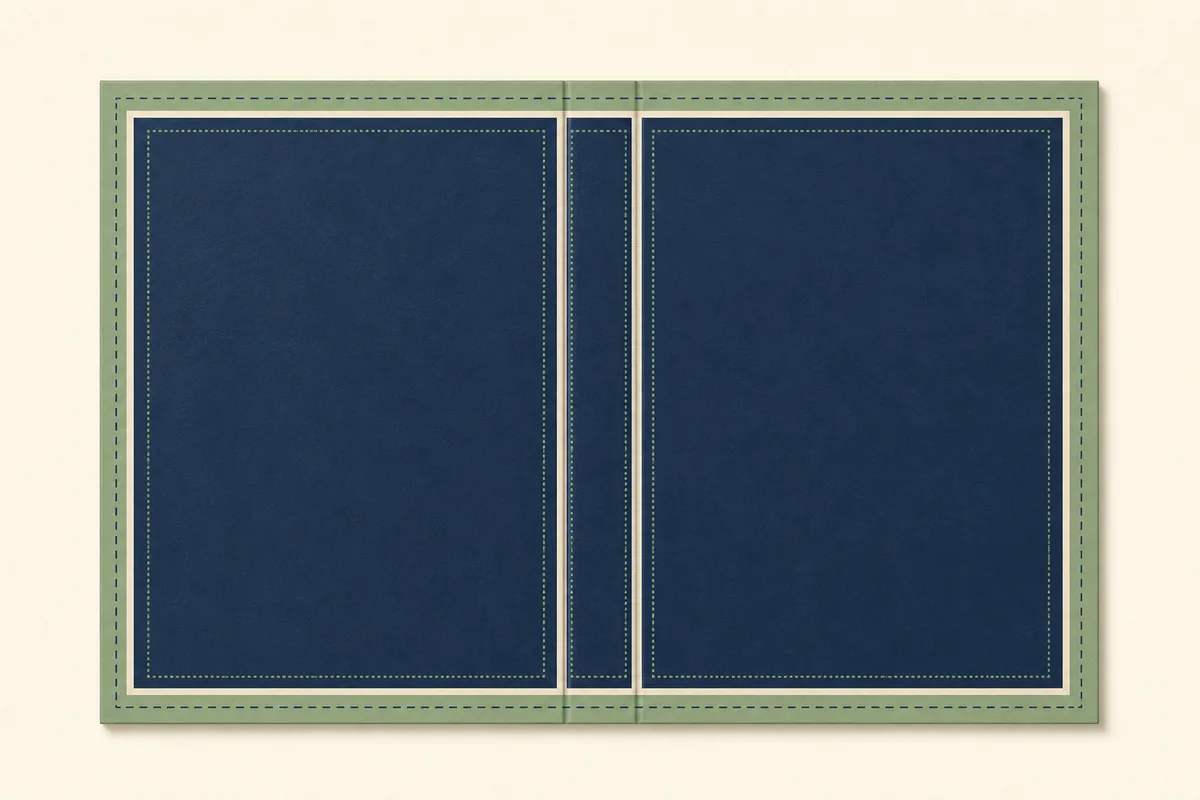
What belongs in a book cover layout?
Start by naming the format. An eBook usually needs one front-cover image, while a paperback or hardcover needs a full wrap. Then reserve space for the title, author name, spine text, back-cover copy, barcode treatment, bleed, and safe areas. The layout should be decided before you polish the artwork.
Choose the format first
An eBook front cover, paperback wrap, and hardcover file have different panels and export needs. Do not force one canvas to serve every format.
Treat panels as one system
A print cover is not three unrelated pictures. Color, texture, horizon lines, and visual rhythm should cross the spine without making the fold confusing.
Build a clear hierarchy
Readers should find the title, genre signal, and author name in a predictable order. A strong image cannot rescue a cover with competing text blocks.
Protect the production zones
Trim, bleed, folds, spine width, and barcode space affect where important text and faces can safely sit. Use a template for final measurements.
Match the book cover layout to the format
Use this map to decide what the file must contain before you choose imagery or typography. The exact measurements still depend on the platform, trim size, page count, paper, binding, and template you will use.
| Layout area | What it needs to do | Best for | Check before export |
|---|---|---|---|
| eBook front cover | One vertical front image with title, author, and a clear genre promise. | Kindle, digital storefronts, PDF guides, and lead magnets. | Thumbnail readability, portrait ratio, contrast, and no unnecessary spine or back-cover copy. |
| Paperback full wrap | Back cover, spine, front cover, bleed, trim, safe areas, and any barcode treatment in one canvas. | Print-on-demand novels, journals, nonfiction, and KDP paperback files. | Final trim size, page count, paper type, spine width, barcode clearance, and PDF proof. |
| Hardcover wrap | A coordinated cover with the front, spine, back, and the platform-specific case or wrap requirements. | Hardcover editions, collector releases, and premium print products. | Use the exact hardcover template; do not reuse paperback measurements without checking the binding. |
| Front-cover title zone | A dominant title block, author name, series cue, and enough negative space around the focal point. | Every cover that must work in search results and small thumbnails. | Test the smallest realistic view and keep the title away from crop, trim, and busy detail. |
| Spine | Short, high-contrast title and author treatment sized for a narrow moving target. | Paperback and hardcover print wraps with enough width for spine text. | Confirm the page-count-based spine width and keep type centered without touching fold lines. |
| Back cover | A short blurb, endorsement or benefit points, author note, and barcode-safe space. | Print books where the back panel has to explain the promise after the front creates interest. | Use the shortest useful copy, strong contrast, clear reading order, and a safe barcode area. |

A front cover is not the same as a full-wrap layout
The visual difference between formats is also a production difference. An eBook can focus on one tall image. A paperback needs a readable front, a stable spine, and a back panel that remains useful when the book is held in a store or photographed. A hardcover may use a different template and fold behavior.
Keep the front cover instantly legible
At thumbnail size, the title and genre signal should arrive before the viewer notices small decorative detail. Give the focal subject a clear relationship to the title block.
Let the spine connect without competing
Use a color, texture, or shape that links the front and back. Spine text should be short and centered; if the spine is too narrow, omit it rather than squeezing unreadable type into the fold.
Give the back a separate reading job
The back cover is not a leftover front image. It needs a blurb or benefit structure with enough quiet space for text, plus room for the barcode treatment required by your print service.
Keep the important content inside safe areas
Bleed lets the background extend past the trim edge; it does not make title text, faces, or barcode-sensitive details safe. Keep those elements inside the template's safe zone.
Decide what the reader sees first, second, and third
A book cover layout is easier to review when every element has a job. Use contrast, size, spacing, and placement to create a reading order instead of making every label equally loud.
1. Genre and promise
The image, color, and main shape should tell the right reader what kind of experience to expect. A mystery, romance, fantasy, and business book do not need the same visual shorthand.
2. Title
The title is usually the strongest text element. Give it a stable zone with enough contrast, and make sure a long title still works when the cover is reduced.
3. Author and series
Place the author name and series information where readers expect them, but keep them subordinate unless the author's name is the main sales signal.
4. Supporting copy
Subtitle, tagline, endorsement, and back-cover bullets should support the promise. If two blocks say the same thing, remove one before adding more decoration.
5. Production details
Barcode space, trim, folds, bleed, and safe areas are essential even when they are not visible in the final marketing thumbnail. Keep them in the layout plan from the start.
How to build a book cover layout without redoing the art
Separate creative decisions from production math, but keep them in the same brief. This order helps you avoid designing a beautiful front cover that cannot become a complete print file.
Lock the publishing format
Decide whether the immediate deliverable is an eBook front, paperback wrap, hardcover wrap, or a set of related files. Record the platform before choosing a final canvas.
Collect the production inputs
For print, confirm trim size, page count, paper type, binding, bleed rules, and barcode treatment. Use the KDP calculator for planning and the official template for final dimensions.
Sketch the panel hierarchy
Mark the front title zone, spine width, back-cover copy block, image focal point, and safe areas with plain shapes before you polish the illustration.
Create art that can cross panels
Choose a background and focal subject that survive the fold. Keep faces, title lettering, and other critical details away from trim and spine edges.
Proof at full size and thumbnail size
Check the file at production scale for folds, margins, and barcode clearance. Then shrink it to a listing thumbnail to test title hierarchy and genre recognition.
Export and verify the exact template
Create the final file from the platform-specific template, then confirm dimensions, resolution, color treatment, bleed, PDF settings, and page-specific upload rules.
Fix these book cover layout problems before export
Most layout failures are visible before the final upload. A short preflight is cheaper than rebuilding the cover after a trim, fold, or readability problem appears.
| Mistake | Why it fails | Better fix |
|---|---|---|
| Using a front-only image as a paperback file | A print wrap needs a back, spine, bleed, and safe zones. The front image alone cannot define the final canvas. | Start with the correct full-wrap template and place the front artwork inside the front panel. |
| Putting the title on the fold or trim edge | Small shifts during cutting or folding can make important text look off-center or clipped. | Keep title, author, faces, and key symbols inside the template's safe area. |
| Making every panel equally busy | The reader cannot find a first focal point, and the back-cover copy loses room to breathe. | Give the front the strongest visual signal, the spine a quiet connector, and the back a readable copy zone. |
| Calculating the spine from a rough page count | Formatted page count and paper type affect the spine. A manuscript word count is not a production measurement. | Use the final interior page count and the platform's template or calculator before placing spine text. |
| Checking only the zoomed-in design file | A large artboard can hide weak contrast, tiny type, and a missing genre signal at thumbnail size. | Review both full-size production details and the small view used in storefronts, search, and social shares. |
Move from layout planning to a finished cover
Choose the next page based on the problem you still need to solve. Each tool or guide has a narrower job than the layout overview.
Choose a visual direction
Compare genre signals, focal points, negative space, and thumbnail ideas before you generate or refine artwork.
Explore design ideasCheck dimensions
Review eBook, paperback, hardcover, bleed, spine, and safe-area planning when you need the correct production size.
Compare dimensionsCalculate a KDP wrap
Enter trim size, page count, paper type, and format to estimate the full-wrap measurements before opening the final template.
Open the calculatorGenerate a template
Create a visual scaffold with front, spine, back, bleed, safe zones, and barcode space for a specific print setup.
Create a templateRefine typography
Choose readable, genre-right fonts and pairings after the title zone and information hierarchy are clear.
Review cover fontsWrite the back cover
Turn the back panel into a useful reader promise with a concise blurb, author note, and production-safe barcode space.
Plan the back coverCheck the official rules before final export
Layout principles are reusable, but platform specifications can change. Use the current official guidance and template for the final upload decision.
Book Cover Layout FAQ
Turn a clear layout into a publishable cover
Choose the format, map the panels, check the production zones, and then create or refine the artwork with the right tool.